Comprehensive Guide: How to Fix Garage Door Sensor Effortlessly
Have you ever felt the frustration of a garage door that refuses to budge? Sensors can fail at the most inconvenient times, leaving you half-in, half-out or even worse, locked out. But don’t fret—here’s your solution—learn how to fix garage door sensor issues, DIY style.
This easy-to-follow guide walks you through the process step-by-step, from diagnosing to fixing common sensor problems. You’ll learn the art of cleaning, realigning, inspecting wires and dealing with sunlight interference. You don’t have to be an expert handyman to breathe new life into a glitchy garage door.
Grab that toolbox and let’s dive straight in! Save those dollars on repair costs while ensuring the safety and functionality of your garage door, one sensor at a time. Let’s get started—shall we?
Understanding Garage Door Sensors
How Garage Door Sensors Function
Garage door sensors are crucial for maintaining your home’s safety. Positioned on either side near the bottom of the garage door track, these sensors work in pairs. One sends out an infrared light beam, while the other receives it. If something obstructs this beam, the door won’t close. Think of it like a tripwire that keeps your garage—and anything or anyone underneath the door—safe.
Common Problems with Garage Door Sensors
Ever notice your sensors fail to light up? This could be due to power or wiring issues. Then there’s the trouble of your garage door not closing properly, which usually points to misalignment or obstructions. Physical impacts can easily knock these sensors off-kilter, leading to frustrating malfunctions. It’s almost like trying to win a game of balance where even a tiny bump can throw things off.
Signs of Sensor Issues
Spotting sensor problems isn’t too tricky. One telltale sign is if your garage door opens like a charm but refuses to close. Or maybe you see blinking lights on the sensors—consider those blinking lights a distress signal. Keeping an eye on these indicators can go a long way in ensuring your sensors function properly, maintaining both convenience and safety in your home.
How to Fix Garage Door Sensor: Step-by-Step Guide
In this section, you will learn how to troubleshoot and fix your garage door sensors effectively. From cleaning and realigning to inspecting wiring, these tips ensure your garage door operates smoothly and safely.
Cleaning the Sensors
Cleaning your garage door sensors is a quick and essential step in ensuring they function correctly.
- Gently remove any dust or dirt from the sensors to ensure they are clear of obstructions.
- Use a soft, dry cloth to clean the lens on each sensor to prevent any operational issues caused by grime or smudges.
- Check for cobwebs or debris that might block the sensor’s infrared beam, which can interfere with proper functioning.
Realigning the Sensors
Misalignment is a common issue that can prevent garage door sensors from working properly. Ensuring proper alignment is crucial for safety and functionality.
How to Realign Garage Door Sensors
To realign your garage door sensors, follow these steps:
- Inspect the sensors for the green or yellow indicator light. If the light is off, realignment is needed.
- Loosen the screws or wing nut on the sensor frame to allow for adjustment.
- Adjust the sensor by moving it gently until the light turns on, indicating correct alignment.
- Tighten the screws again after re-aligning to secure the sensor in place properly.
Troubleshooting Alignment Issues
If you encounter problems while realigning your sensors, consider these troubleshooting tips:
- Ensure the sensors are mounted at the same height on each side of the garage door track for optimal alignment.
- Verify there are no obstructions in the path of the sensor beams that could disrupt their function.
- Test the alignment by closing the garage door. A smooth closure indicates correct alignment, while interruptions suggest further adjustments are needed.
Examining the Wiring
Examining the wiring is crucial for diagnosing sensor issues. Damaged or improperly connected wires can cause sensor malfunctions.
How to Inspect Sensor Wiring
To properly inspect the wiring, follow these steps:
- Check that wires are securely connected to the garage door opener’s terminals. Loose connections can cause sensor failures.
- Ensure solid white wires connect to the white terminal and white/black wires to the grey terminal to maintain the correct wiring configuration.
- Look for visible damage, such as frays or cuts, along the wiring path that could cause interruptions or malfunctions.
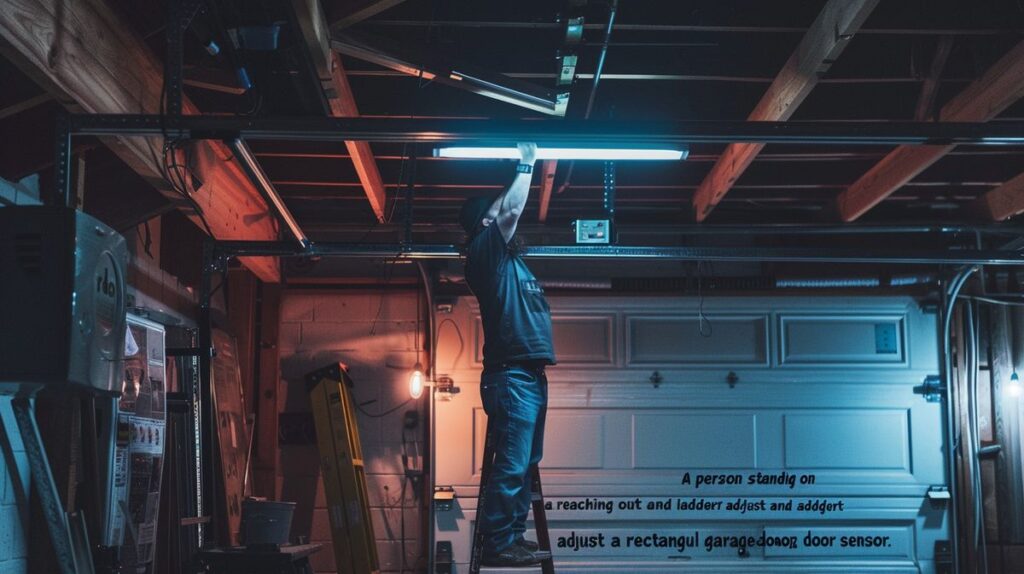
Fixing Wiring Issues
If you find wiring problems, here’s how to address them:
- Replace any damaged wires with new ones to restore proper functionality.
- Use wire nuts or electrical tape to secure wire connections and prevent them from coming loose.
- Confirm that wire terminals are free from corrosion that might interfere with electrical signals.
Monitoring Sunlight Interference
Sunlight can cause significant interference with garage door sensors by disrupting their infrared signals.
How Sunlight Affects Sensors
Understanding how sunlight impacts your sensors will help you address these issues:
- Sunlight hitting directly on the sensors may cause them to misinterpret signals, leading to malfunction.
- Problems typically arise at specific times of the day as the sun’s angle changes, requiring periodic adjustments.
Preventing Sunlight Interference
To prevent sunlight from interfering with your sensors:
- Use cardboard or another shading device to protect sensors from direct sunlight without blocking the receiver.
- Relocate or slightly tilt the sensors to reduce their direct exposure to sunlight.
LED Diagnostic
LED indicators on your sensors can provide valuable diagnostic information to help you troubleshoot problems effectively.
Understanding LED Indicators
Here’s how to interpret your sensor’s LED indicators:
- The Amber LED on the sending sensor should glow regardless of alignment, indicating it is transmitting an infrared beam.
- The Green LED on the receiving sensor should be solid if aligned correctly. Off, dim, or flickering lights indicate alignment or functional issues.
Diagnosing with LED Lights
Use your LED lights to diagnose specific issues:
- If the sending sensor LED is off, check the power sources and wiring connections for disruptions.
- Adjust the alignment if the receiving sensor LED is dim or flickering until it becomes solid.
- If LEDs do not respond correctly, further investigate possible power or connection issues.
Manual Door Closure
If sensor problems prevent your garage door from closing, you can manually override the sensor system:
- Press and hold the Door Control push bar until the door is fully down to bypass the sensors temporarily.
Testing Sensor Wires
To determine if the issue lies with the wiring or the sensors themselves, you can test the sensor wires directly.
Method for Testing Sensor Wiring
Follow these steps to test the sensor wiring:
- Remove sensors from their brackets and disconnect or cut wires about 12 inches from the sensors.
- Strip the ends of the wires and twist like-colored wires together from each sensor.
Steps to Diagnose Wiring or Sensor Issues
Here’s how to diagnose if the problem is with the wiring or the sensors:
- Connect the twisted wires directly to the garage door opener motor unit terminals.
- Aim the sensors at each other and check the LED indicators:
- If LEDs turn on, the issue likely lies within the wiring between the opener and the sensors.
- If LEDs remain off, the sensors themselves may require replacement.
Replacing the Sensor Batteries
If all else fails, the issue might be with the sensor batteries.
- Garage door sensor batteries typically last 3-5 years but may need replacement if cleaning and realigning have not fixed the issue.
- Replace the old batteries with new ones and test the system again to ensure proper operation.
Safety Measures During Repairs
When it comes to fixing garage door sensors, taking the right safety measures is essential. Here are some practical tips to ensure you stay safe and effective while working on your garage door sensors.
- Turn Off Power: Always ensure the garage door system is powered off before starting any repairs. This step is crucial to prevent electrical shock and to safely inspect and fix the issue at hand.
- Avoid Forcing the Door: If the sensors are malfunctioning, resist the urge to force the garage door closed manually. Doing so can cause additional damage to the door mechanism or lead to personal injury. Think of it as trying to force a locked door open—it’s not going to end well.
- Use Proper Tools and Safety Gear: Equip yourself with the right tools such as screwdriver sets, wire strippers, and multimeters. Additionally, wear proper safety gear like gloves and safety glasses. This combination helps protect you while you work on fixing those sensors.
- Follow Manufacturer Guidelines: Always refer to the garage door and sensor manuals for specific instructions and warnings. Sticking to these guidelines ensures a safe repair process and helps to avoid voiding warranties.
- Maintain a Clear Work Area: Ensure the workspace around the garage door and sensors is free from obstacles. This prevents accidents or further damage during the repair process.
- Test After Each Step: After completing a repair step, restore power and test the garage door. This helps to ensure the fix is successful and that the system operates correctly. It’s like checking your work in stages to make sure you’re on the right track.
- Keep Children and Pets Away: During repairs, it’s essential to keep children and pets at a safe distance. Doing so prevents accidental injuries or interference with the repair process.
Importance of Regular Maintenance
Regular maintenance of your garage door sensors is crucial to ensure they function correctly, and it’s also important to consider overall home safety measures. For additional tips on how to secure your home and keep your family safe, check out this resource. By catching potential issues early, you ensure smoother operation and significantly reduce the likelihood of costly repairs. Think of it as your routine health check for the garage.
Ensure Cleanliness
Dirty sensors? That’s like trying to see through foggy glasses! Dust, dirt, and cobwebs can obstruct the sensors, causing malfunctions. Gently wipe down the lenses with a soft, dry cloth. Regular cleaning ensures that the sensors accurately detect any objects in the garage door’s path.
Check Alignment
Alignment is key. Misaligned sensors are a top reason for garage door problems. Always check that sensors are level and opposite each other. If the indicator lights are off or blinking, it’s time to realign. Just like adjusting your rearview mirror, proper alignment keeps everything running smoothly.
Test Functionality
Regular testing is vital. Close the garage door while standing clear, and watch its behavior. If it doesn’t close or reverses unexpectedly, inspect the sensors. Routine tests catch problems early, preventing bigger issues down the line.
Inspect Wiring
Don’t forget the wiring. Frayed or exposed wires can lead to sensor malfunction. Regularly inspect the wiring connected to your garage door sensors, ensuring they are secure and in good condition. Fix damaged wires promptly to maintain the system’s integrity.
Address Sunlight Interference
Sunlight can be a sneaky culprit, disrupting the infrared signals of your sensors. If malfunctions occur at specific times, direct sunlight might be the issue. Consider shading the sensors or adjust their angles slightly to reduce interference. It’s like wearing sunglasses to avoid glare!
Battery Checks
Sensor batteries usually last between 3-5 years, but always check them regularly, especially if issues arise. After cleaning and aligning, if sensors still misbehave, replacing the batteries might be the solution.
Summary
Keep your garage door sensors in top condition through regular maintenance. By ensuring they’re clean, aligned, and unobstructed, you prevent common issues and guarantee a safer, smoother garage door operation. It’s all about being proactive to avoid surprises.
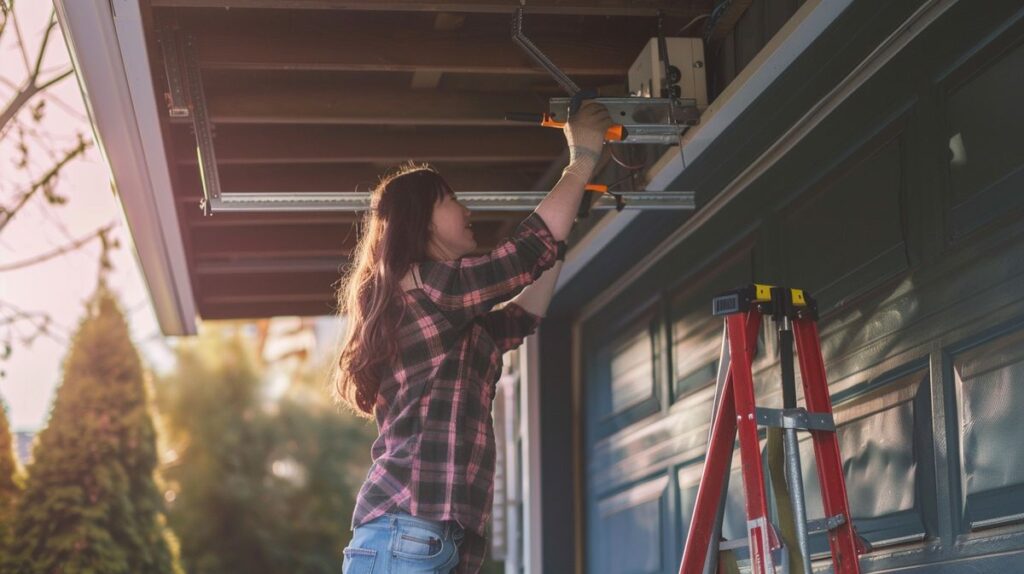
The Perks of Troubleshooting Garage Door Sensors
Learning how to fix garage door sensor issues yourself can bring substantial benefits. Let’s dive into why this skill is a game-changer.
Cost Savings
- Avoid Expensive Service Calls: By mastering the basics of how to fix garage door sensor problems, Du can save a significant amount of money. Ever felt the pinch of a technician’s bill for a minor issue? Troubleshooting yourself helps keep those costs at bay.
- Prevent Future Repairs: Regularly maintaining and troubleshooting your garage door sensors can help avoid more severe issues and subsequent hefty repair costs. Think of it like changing the oil in your car—it keeps everything running smoothly.
Quick Fixes
- Immediate Resolution: Some common problems, like sensor misalignment or dirt, can be resolved in no time. The quicker Du tackle these issues, the sooner you’ll get your garage door back in action, minimizing downtime.
- Efficient Maintenance: Knowing how to address simple fixes yourself means your garage door can operate seamlessly. It’s all about keeping things running without frequent interruptions, much like making sure your computer is free from viruses.
Understanding Your Garage Door System
- Functional Awareness: When Du learn how to fix garage door sensor issues, you also get a better grasp of your garage door system. It’s like understanding how each piece of a puzzle fits together, enhancing your overall knowledge of how it functions.
- Empowerment: Handling these minor repairs and diagnostics by yourself instills a sense of empowerment. Imagine not needing to rely on anyone else to fix those little hiccups—feels good, right?
When to Call a Professional
Knowing when to call in an expert can save you time, frustration, and even money down the line. Let’s dive into specific scenarios where a professional touch is essential for fixing your garage door sensor.
- If Troubleshooting Steps Do Not Resolve the Problem: You’ve tried cleaning, realigning, and testing the sensors and wiring, but nothing works. It feels like hitting a wall, right? This is a clear sign that it’s time to bring in the pros. They’ll pinpoint issues that are often hidden from the DIY eye.
- Complex Repairs or Sensor Replacements: Some jobs are just too tricky without the right expertise and tools. For instance, complex repairs or full sensor replacements require technical know-how. Trusting professionals to handle these tasks ensures the job is done right and keeps you safe from potential hazards.
- Consult a Reliable Service Provider for Comprehensive Repairs: Critical sensor malfunctions or recurring issues can turn into bigger headaches if not properly addressed. Engaging a reputable service provider means getting a thorough solution that solves the problem and minimizes your chances of future breakdowns. This approach keeps your garage door system running smoothly for years to come.
Conclusion
Regular maintenance and straightforward troubleshooting are crucial for ensuring the effective functioning of your garage door sensor. Knowing how to fix garage door sensors by addressing common issues such as cleaning, realignment, and wiring problems can save you time and money. Ensure that you regularly inspect and maintain your garage door sensors to prevent issues before they arise.
If your DIY efforts don’t resolve the problem, do not hesitate to contact a professional. Complex issues, particularly those involving intricate wiring or sensor replacements, require expert attention to ensure your garage door system operates safely and efficiently. Regularly maintaining and understanding basic troubleshooting techniques empowers you to handle minor issues and keeps your system in optimal condition. Your diligence in regular maintenance can significantly reduce the necessity for costly repairs, contributing to a more cost-effective and smoothly running garage door system.
In summary, knowing how to fix garage door sensors involves a few easy steps, but recognizing when professional help is needed is equally important for the longevity and safety of your garage door system.
FAQ
Frequently Discussed Garage Door Sensor Issues
Why is my garage door sensor not lighting up?
– If your garage door sensor isn’t lighting up, there could be a couple of reasons. It might be a power issue, possibly due to supply or wiring problems. Another common culprit is misalignment. Check if the sensor lenses are clean and unobstructed. Imagine the frustration of a flashlight not working simply because the batteries aren’t aligned!
How do I know if my garage door sensor is bad?
– A garage door sensor that remains dark after cleaning and realignment usually spells trouble. If the LEDs don’t light up despite your efforts, chances are the sensor itself is faulty. Persistent issues, even after checking the wiring and other components, are a clear sign you might need a replacement. Think of it like a stubborn light bulb that refuses to glow—or it’s just time to change it.
Can I manually close my garage door if the sensor is not working?
– Absolutely! You can manually close your garage door by pressing and holding the Door Control push bar until the door is fully down. This action temporarily bypasses the non-functional sensor system. It’s much like using a manual override in your car when the automatic functions fail—simple, but effective.
How often should I replace my garage door sensor batteries?
– A good rule of thumb is to replace your garage door sensor batteries every 3-5 years. However, if you find that the sensors aren’t functioning properly despite cleaning and realignment, it might be time to check those batteries. Just like your smoke detector, timely battery replacement ensures everything runs smoothly.
When should I contact a professional for garage door sensor issues?
– If basic troubleshooting doesn’t fix the problem, it’s time to call a professional. Complex wiring issues or the need for a complete sensor replacement are good reasons to seek expert help. It’s like calling a trusted mechanic when your car’s engine needs more than a quick oil change.
I’m James Albright, a home security expert with over 15 years of experience, and I’m passionate about helping families protect what matters most. After serving as a police officer, I transitioned to security consulting to share my hands-on knowledge and practical tips. My mission is to make home security simple and reliable by offering clear, no-nonsense advice and easy-to-follow guides. When I’m not reviewing the latest security tech or writing, I’m out in the community leading neighborhood watch programs and, most importantly, keeping my own family safe.


Post Comment