Pro Intercom System Installation – Secure & Reliable Service
Ever thought about the convenience of communicating across your property without leaving your chair? Imagine the security boost with an intercom system at your fingertips. I’m James Albright, and I’m here to guide you through the ins and outs of intercom system installation.
This guide is your ticket to a seamless installation experience. We’ll explore how to choose the right system, the tools you’ll need, and a step-by-step installation process. Whether you’re a homeowner or a business proprietor, you’ll find this guide invaluable.
Why did you click on this article? Perhaps you’re looking to enhance your property’s security, or maybe you’re after the convenience of an intercom system. Whatever your reason, rest assured, you’re in the right place. Let’s dive in and make your intercom installation a resounding success.
What is an Intercom System?
An intercom system is a stand-alone communication network used within a single building or a group of buildings. Unlike traditional telecommunication methods, an intercom system operates independently of public telephone networks, making it a reliable and dedicated mode of communication for specific environments.
Intercom systems are essential for ensuring effective communication, enhancing security, and providing convenience in both residential and commercial settings. They allow for instantaneous, direct communication between different areas of a property, which is particularly useful in settings where quick coordination is crucial, such as in schools, offices, hospitals, and large residential complexes.
There are various types of intercom systems available, each designed to meet specific needs. Wired intercom systems, for instance, are known for their reliability and consistent performance, although they require extensive cabling. On the other hand, wireless intercom systems offer the advantage of easier and less invasive installation, making them ideal for buildings where running wires is impractical.
Video intercom systems take security and convenience a step further by incorporating camera and video features, allowing users to visually verify the identity of visitors before granting access. This is particularly beneficial in residential settings where security is a priority. Apartment intercom systems are specifically tailored for multi-unit buildings and often include advanced features like remote access and video capabilities to enhance both security and user convenience.
In summary, intercom systems are invaluable tools for maintaining efficient communication and robust security within various types of properties. The choice of system depends on the specific needs of the property, including factors like size, layout, and the desired level of security and convenience.
Choosing the Right Intercom System for Your Property
When it comes to intercom system installation, selecting the right type for your property is crucial. Let’s explore the different options to help you make an informed decision.
Types of Intercom Systems
When considering intercom system installation, it’s essential to understand the different types available to ensure you choose the best fit for your property.
Wired Intercom Systems: These systems require extensive wiring throughout the building. While the installation process can be more complex and time-consuming, wired systems are renowned for their reliability and consistent performance. They are ideal for properties where long-term dependability is a priority.
Wireless Intercom Systems: Wireless systems are easier and cheaper to install, making them a popular choice for buildings where running wires is not practical. They offer flexibility in installation locations and are suitable for properties that may undergo frequent changes or renovations. However, they may be subject to interference from other wireless devices.
Video Intercom Systems: These systems incorporate video features that allow for visual identification of visitors. They enhance security by providing a visual verification method, making them ideal for both residential and commercial properties that require an additional layer of security.
Apartment Intercom Systems: Specifically designed for multi-unit buildings, these systems often include features like remote access and video capabilities. They facilitate communication between residents and visitors and can integrate with other building security systems, enhancing overall safety and convenience.
Assessing Property Needs
Before proceeding with an intercom system installation, it is crucial to assess the specific needs of your property to ensure you select the most suitable system.
Property Size and Layout: Consider the size of your property, the number of rooms, and the distance between units. Larger properties or buildings with multiple floors may require more advanced systems with extended range capabilities.
User Requirements: Evaluate the specific needs of the users, such as the necessity for security features like video monitoring, remote access, or the ability to integrate with existing security systems. Understanding these requirements will help in choosing a system that meets user expectations and enhances overall functionality.
Budget and Infrastructure: Determine your budget constraints and any existing infrastructure limitations. While wired systems may offer greater reliability, they also require a higher initial investment and more extensive installation work. Conversely, wireless systems may be more cost-effective and easier to install but could involve ongoing maintenance costs.
By carefully considering these factors, you can make an informed decision on the best intercom system installation for your property, ensuring it meets your communication, security, and convenience needs.
Materials and Tools Needed for Installation
When it comes to intercom system installation, having the right materials and tools at your disposal is key. This section covers everything you need to ensure a smooth and efficient setup.
Essential Tools
For a successful intercom system installation, having the right tools is crucial. Below are the essential tools you will need:

- Screwdriver: A versatile tool for fastening screws, essential for mounting and securing intercom units.
- Electric drill: Needed for drilling holes in walls for mounting the master station and substations.
- Keyhole or saber saw: Ideal for cutting precise holes in walls for the master station and substation units.
- Fish tape: Useful for pulling wires through walls, ceilings, and other confined spaces.
- Razor blade or scraper: Handy for trimming excess material and ensuring a clean finish around installed units.
Required Materials
Gathering the necessary materials beforehand ensures a smooth intercom system installation process. Here are the key materials you will need:
- Intercom master station and substations: The central components of your intercom system, responsible for communication between different points.
- Multiwire cable: Essential for connecting the master station to substations, enabling communication and power transmission.
- Pressure-sensitive tape for labeling cables: Helps in organizing and identifying different cables to avoid confusion during installation.
- Trim molding for finishing: Provides a neat and professional finish around the installed units, hiding any rough edges.
- Transformer (if required): Converts electrical power to the required voltage for your intercom system.
- Ethernet cables (for IP intercom systems): Necessary for connecting IP-based intercom systems to the network, enabling internet connectivity.
- Network switch or router with PoE support: Powers IP intercom units via Ethernet cables, eliminating the need for separate power supplies.
Step-by-Step Intercom System Installation
Installing an intercom system might seem daunting, but with careful planning and execution, it can be a straightforward process.
Let’s break it down into manageable steps to ensure a smooth installation.
Planning the Layout
Effective planning is crucial for a successful intercom system installation. Start by identifying suitable locations for the master station and substations. Ensure these locations are within the network range and have access to a power source if not using Power over Ethernet (PoE). Plan the cable routes meticulously, opting for the basement, crawl space, or attic to maintain a neat and organized installation.
Installing the Master Station
Inspecting the Master Station Box
Before installation, inspect the master station box or enclosure to determine the size of the opening needed. This step ensures that the box fits perfectly into the designated space without any adjustments later on.
Choosing the Location
Choose a location for the master station that is both convenient and functional. Typically, this is between wall studs and at an accessible height, around 60 inches above the floor. This placement ensures ease of use and optimal performance.
Cutting the Hole
Mark the outline of the master station on the wall with a pencil. Drill 3/8-inch holes at each corner of the outline to facilitate cutting. Use a keyhole or saber saw to cut out the marked area, ensuring the hole is appropriately sized for the master station.
Connecting to the Electrical System
Refer to the wiring diagram provided with your intercom system. Typically, only the master station connects to the household’s electrical system. If it connects directly, de-energize the circuit to avoid any electrical hazards. For systems requiring a transformer, place it near a junction box or main entrance panel and connect it according to the manufacturer’s instructions.
Installing Substations
Cutting Holes for Substations
Follow a similar process as the master station for cutting holes at each substation location. Ensure the holes are correctly sized and set the substations aside until the wiring is complete.
Running and Labeling Cables
Run separate cables from each substation back to the master station. For a clean installation, route the cables through the basement, crawl space, or attic. Label each cable with numbered pieces of pressure-sensitive tape to identify the substation location, simplifying the connection process later.
Connecting Wires to Terminals
At each substation location, connect the wires to the terminals on the substation unit following the identification code. Secure the substation unit within the wall, preferably to a wall stud, and attach trim molding to conceal the edges of the opening for a polished finish.
Connecting and Mounting the Master Station
Attaching Wires to the Master Station
Attach all substation and power line wires to the master station according to the terminal markings. This step is critical for ensuring proper functionality and communication between the master station and substations.
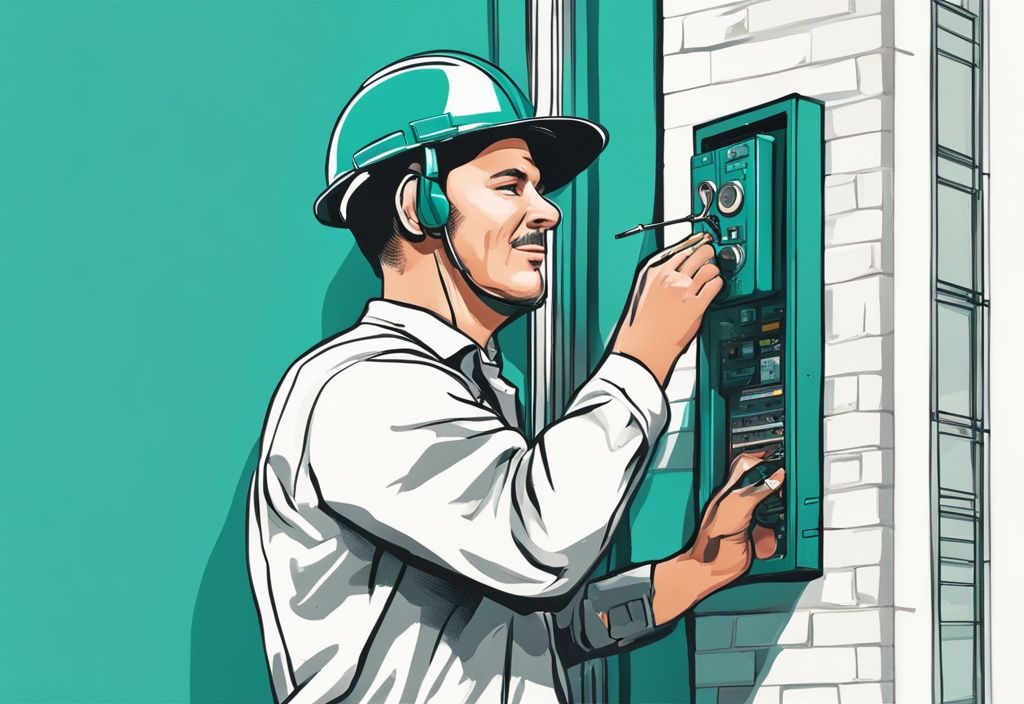
Mounting and Securing the Master Station
Mount the master station into the wall, ensuring it is securely affixed to the wall studs. Attach the trim molding to provide a clean, professional appearance and to cover any rough edges around the installation site.
Testing and Configuring the System
Restoring Power
After completing the installation, restore power to the circuit. This step is necessary to begin testing and configuring the intercom system.
Testing the Intercom System
Test the entire intercom system to ensure each unit functions correctly. If any substation fails to operate, verify the connections to the terminals and the master station. Replace any suspected defective substation unit to isolate and resolve the issue.
Configuring Settings
Configure the intercom system settings to optimize performance and customize features. This may include adjusting volume levels, setting up integration with other systems, and enabling specific functionalities. Conduct info sessions, demonstrations, and provide user guides to train users on how to effectively use the new intercom system.
Cost of Intercom System Installation
When planning for an intercom system installation, it’s crucial to understand the various factors that can influence the overall cost. Let’s break it down.
Factors Affecting Installation Costs
Several elements can impact the price of installing an intercom system. Each aspect needs careful consideration to avoid unexpected expenses.
- Vendor and Location: Prices can vary significantly based on the vendor’s pricing policies and the geographical location. Urban areas might have higher labor costs compared to rural areas.
- Type of Intercom System: Choosing between wireless and hardwired systems can affect costs. Wireless systems are generally less expensive to install, while wired systems may require more labor and materials.
- Complexity of Installation: The complexity of the installation process, including the number of units and the intricacy of wiring, can affect labor costs. More complex systems might require specialized skills, increasing the overall expense.
- New Construction vs. Retrofit Installations: Installing an intercom system in new construction is often easier and less costly than retrofitting an existing building, which may require additional work to integrate the system seamlessly.
Cost Breakdown
The cost of intercom system installation can be broken down into several key components, each contributing to the total expense.
- Intercom System: The cost of the intercom system itself can range from $500 to $5,000, depending on the brand, features, and type of system chosen.
- Installation Costs: Labor and installation can range from $1,000 to $3,000 or more. This includes the time and effort required to install and configure the system properly.
- Additional Costs: Other potential expenses include ongoing subscription fees for certain features, maintenance costs, and any additional equipment or materials needed for the installation.
Understanding these factors and cost components can help in budgeting and planning for intercom system installation, ensuring that the chosen system meets both needs and budget constraints.
Professional Installation vs DIY
Opting for professional installation of an intercom system is often the best choice for complex setups. Professional installers ensure optimal performance and safety, particularly for intricate systems that require extensive wiring or integration with other technologies. Improper installation can void warranties, making professional services invaluable for maintaining the manufacturer’s guarantee. Additionally, professionals bring expertise in troubleshooting potential issues, ensuring the system operates seamlessly from the start.
When to Consider Professional Installation
Imagine trying to weave a complex tapestry without any experience. That’s what installing an intricate intercom system can feel like. Professional installation is your best bet for these complex setups. Experts ensure everything runs smoothly and safely, especially when extensive wiring or tech integration is involved. Plus, a botched job can void your warranty. Professionals help you keep that guarantee intact. They also troubleshoot like pros, making sure your system works perfectly from day one.
DIY Installation Tips
Thinking about a DIY intercom system installation? It’s like assembling a puzzle—satisfying but requiring careful attention. Start by diving into the installation manual. If you’re unsure about which resolution to choose, our detailed comparison of 2k vs 1080p can guide you in making an informed decision. Know your steps before you begin. Gather all your tools and materials upfront to avoid mid-project scrambles. Label every connection clearly to dodge future headaches. Once installed, test everything thoroughly. This method not only cuts costs but also gives you a hands-on understanding of your system.
Maintenance and Troubleshooting
Ensuring your intercom system installation runs smoothly involves regular maintenance and being prepared to troubleshoot common issues. Let’s dive into some practical tips and solutions.
Regular Maintenance Tips
Regular upkeep is essential for the longevity and optimal performance of your intercom system installation. Think of it like maintaining a car—consistent care keeps everything running smoothly.
Start by cleaning the intercom units regularly. Dust and debris can accumulate over time, affecting audio and video quality. A simple wipe-down can make a big difference.
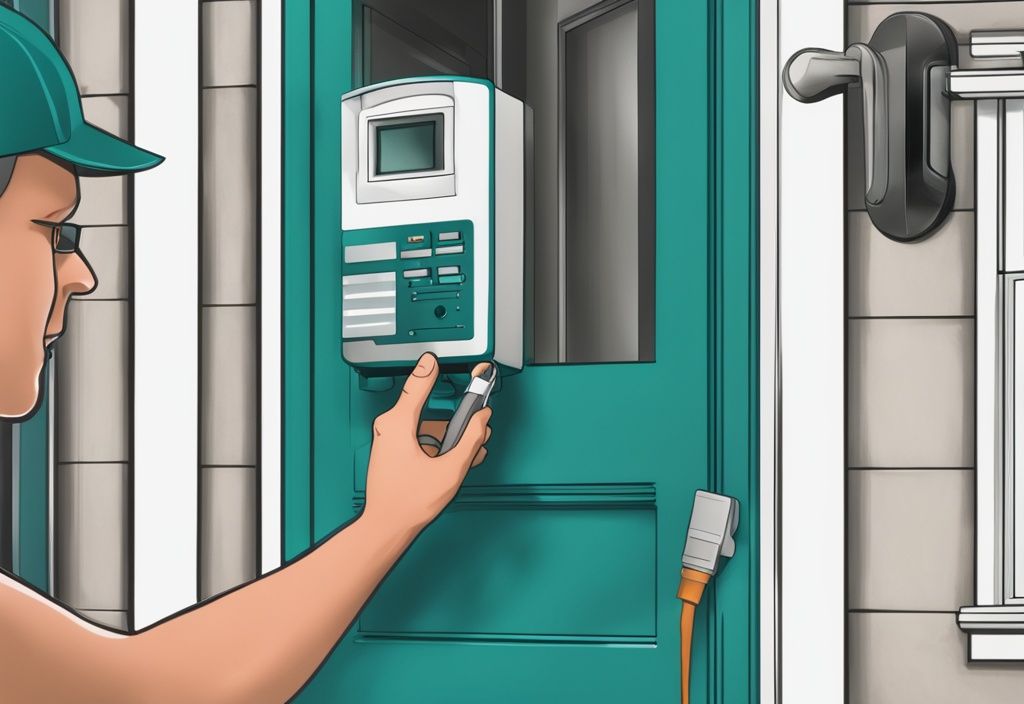
Next, inspect the wiring periodically. Look for any signs of wear or damage. Frayed or exposed wires aren’t just a functional issue; they can be a safety hazard. Replace any worn-out parts promptly to avoid further complications.
For battery-powered units, mark the replacement date and change the batteries regularly. This helps you avoid unexpected power failures. It’s a small step that can save you a lot of trouble down the road.
Common Issues and Solutions
Even with the best maintenance, issues can still pop up with your intercom system installation. But don’t worry, many of these problems are easy to fix.
Experiencing static noise? The first step is to check and secure all connections. Loose or poorly connected wires can cause interference, leading to unwanted noise. Tightening these connections often solves the problem.
Weak signals can be another challenge. This is often due to improper placement or external interference. Make sure the intercom units are placed correctly according to the manufacturer’s guidelines. Also, check for any potential sources of signal disruption nearby.
If any units are non-functional, verify all wiring connections. Ensure they are intact and properly attached. If the issue persists, it might be time to replace the defective units to restore full functionality.
Remember, a little bit of regular maintenance and quick troubleshooting can keep your intercom system installation running smoothly for years to come.
FAQ
How long does it take to install an intercom system?
Installation time for an intercom system installation can vary. Think of it like setting up a new home theater. If it’s a simple setup, it might just take a few hours. But if you’re dealing with a larger property or a more complex system, it could stretch into a couple of days. It’s all about the details.
Can I install an intercom system myself?
Sure, you can handle an intercom system installation yourself, especially if it’s a wireless one. It’s like assembling a piece of IKEA furniture—doable but sometimes tricky. However, for more complex systems, professional installation is the way to go. Think of it as hiring a chef for a fancy dinner party; sometimes, it’s best left to the experts.
What is the average lifespan of an intercom system?
A well-done intercom system installation can last up to 20 years. It’s like planting a tree in your yard; with proper care and maintenance, it stands strong for decades.
What are the differences between wired and wireless intercom systems?
Wired systems are like the old landline phones—reliable but require extensive wiring. They are generally more dependable. On the other hand, wireless systems are easier and cheaper to install, much like setting up a Wi-Fi network. However, they can be subject to interference, just like your Wi-Fi signal sometimes drops.
How much does it cost to install an intercom system?
The cost of an intercom system installation can vary widely. Think of it like buying a car; the price depends on the make, model, and features. Generally, you can expect to spend anywhere from $1,000 to $3,000 or more, depending on the system’s complexity and your specific needs.
Conclusion
Installing an intercom system is a strategic decision that not only enhances security but also significantly improves communication within a property. The benefits extend to both residential and commercial settings, making it a valuable investment for increasing property value and ensuring peace of mind.
Proper planning is essential for a successful intercom system installation. This involves assessing the specific needs of the property, such as the size, number of rooms, and the required security features. By choosing the right type of intercom system—be it wired, wireless, video, or apartment-specific—you can ensure that the installation meets your unique requirements efficiently.
Following a step-by-step installation guide is crucial to achieving a seamless setup. This includes the meticulous process of planning the layout, installing the master station and substations, running and labeling cables, and ensuring all connections are secure. Each step must be executed with precision to avoid any issues that could compromise the system’s functionality.
Regular maintenance and troubleshooting are key to the long-term performance of your intercom system. Routine checks and timely replacements of worn-out parts can prevent potential problems and extend the lifespan of the system. Addressing common issues such as static noise, weak signals, and non-functioning units promptly ensures that the system remains reliable and efficient.
In conclusion, an intercom system installation is a worthwhile endeavor that offers numerous advantages. With thorough planning, the right system choice, and adherence to detailed installation procedures, you can achieve a robust communication network that serves your property well for years to come. Regular upkeep will further ensure that the system continues to operate smoothly, providing security and convenience in equal measure.
I’m James Albright, a home security expert with over 15 years of experience, and I’m passionate about helping families protect what matters most. After serving as a police officer, I transitioned to security consulting to share my hands-on knowledge and practical tips. My mission is to make home security simple and reliable by offering clear, no-nonsense advice and easy-to-follow guides. When I’m not reviewing the latest security tech or writing, I’m out in the community leading neighborhood watch programs and, most importantly, keeping my own family safe.



Post Comment