Guide: How to Run Security Camera Wires Through Walls with Ease
Ever wondered how an expert would run security camera wires through walls? You’ve clicked on the right guide. This article, distilled from years of experience, will demystify the process, making it as easy as threading a needle. We’ll jump-start your DIY proficiency, ensuring a neat, secure setup for your home’s safety.
Whether you’re an avid DIYer or a starter, this guide will serve as your dependable scaffold. You’ll discover how to avoid common slip-ups and streamline your installation process.
By the end of this guide, you will have mastered the art of running security camera wires through walls, embracing a comprehensive, 3D security approach that covers deterrence, detection, and defense – all while maintaining a tidy aesthetic. Let’s begin, shall we?
Planning Your Security Camera Installation
Installing security cameras isn’t just about picking the right devices. It begins with meticulous planning, especially for running wires through walls. This guide will walk you through designing a central surveillance hub, mapping wire routes, and identifying accessible paths.
Designing the Central Surveillance Hub
- The first step is designing a central surveillance hub for your NVR (Network Video Recorder) or DVR (Digital Video Recorder). Think of it as the brain of your security operation. The attic or near the Internet router are prime spots. Why? Because these areas optimize connectivity and ensure your recorded footage is securely stored.
- When choosing this location, prioritize security and ventilation. Your equipment needs to be in a well-ventilated area to prevent overheating. Plus, it should be secure enough to deter tampering or unauthorized access. Ample space to accommodate power sources, routers, and recording devices is also essential. Picture it like setting up a small command center in the safest, coolest spot of your home.
Mapping Out Wire Routes
- Avoiding clutter and inefficiencies in your wiring setup starts with effective planning. Prioritize straightforward paths, avoiding unnecessary twists and turns. This isn’t just about looks—it’s also about functionality and easy maintenance.
- Identify accessible routes from areas like the basement or attic to the exterior parts of your home.
In this video, Rudy from the Home Improvement channel demonstrates effective techniques for installing security cameras while concealing the wires, including tips for different home exteriors and ensuring a clean installation.
These paths should ensure a smooth transition from interior to exterior walls without putting excessive strain on the wires. Imagine the wires as arteries—they need smooth, unobstructed routes to function properly. - Avoid sharp bends when running wires through walls.
In this video, learn essential steps for running electrical wires through walls, including safety tips, planning your wiring path, and using fish tape effectively—key techniques for a successful security camera installation.
Gentle curves help maintain signal integrity and prolong the lifespan of your cables. Think of it like bending a garden hose—too sharp a turn, and you’ll impede the flow.
Identifying Accessible Paths
- Using a stud finder is essential. It helps you locate studs and avoid other electrical wiring within your walls. Marking these areas allows for precise drilling, preventing damage to existing systems or structures.
- Choose paths that offer the least resistance while ensuring the wires are secure and concealed. Behind walls or within existing conduits are ideal options. These paths protect your wires from physical damage and tampering, much like hiding valuables in a safe place.
How to Run Security Camera Wires Through Walls
Running security camera wires through walls can feel like a daunting task. But with the right preparation and safety measures, you can make it a breeze. Let’s break it down step by step.
Preparing for Installation
Ensuring Safety: Turning Off Power
First things first—prioritize safety by turning off the power at the circuit breaker. This small step prevents potential electrical shocks and keeps your devices safe during the process.
Drilling Holes for Wire Passage
Finding Studs and Avoiding Electrical Wiring
- Use a reliable stud finder to locate wall studs.
In this video, Adam demonstrates essential techniques for running wires through walls, including how to locate drilling points, drill holes safely, and effectively fish wires through wall cavities—key skills for your security camera installation.

This ensures your drilling aligns with structural elements and avoids existing electrical wiring. - Drill holes precisely in the center of the studs to create consistent wire pathways. This helps you avoid hidden wires or other obstructions.
Drilling Through Stucco and Drywall
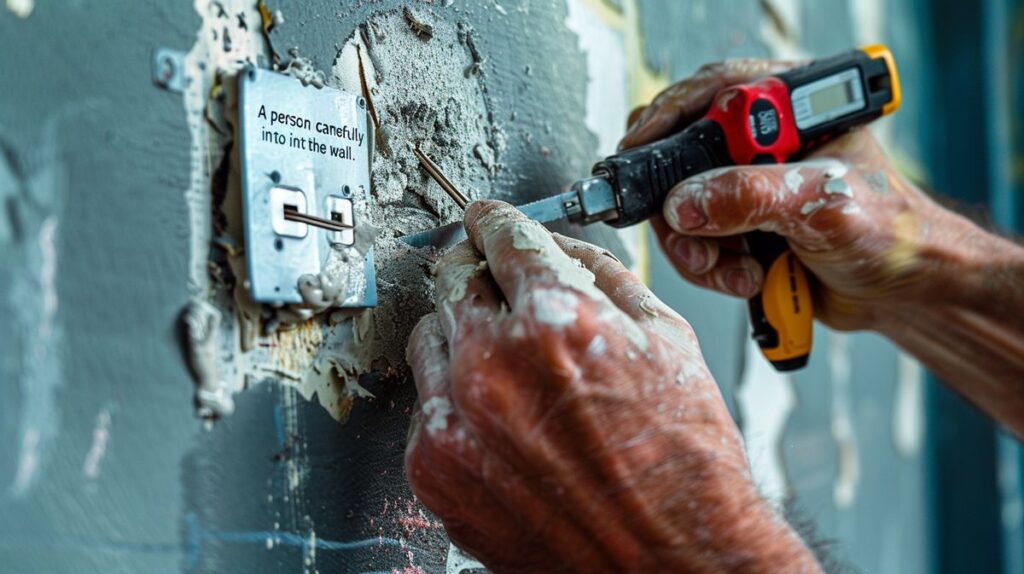
- For exterior wall installations, carefully drill through the stucco to access the interior drywall. This allows cleaner wire passage with minimal wall damage.
- Apply silicone sealant around drilled holes and the back of the junction box to prevent water ingress. This step is crucial for maintaining the weatherproofing of your walls and the integrity of your camera setup.
Running Security Camera Wires Through Walls
Mastering how to run security camera wires through walls is essential for a clean, efficient installation and robust home security.
Using Fish Tape and Other Wire Fishing Tools
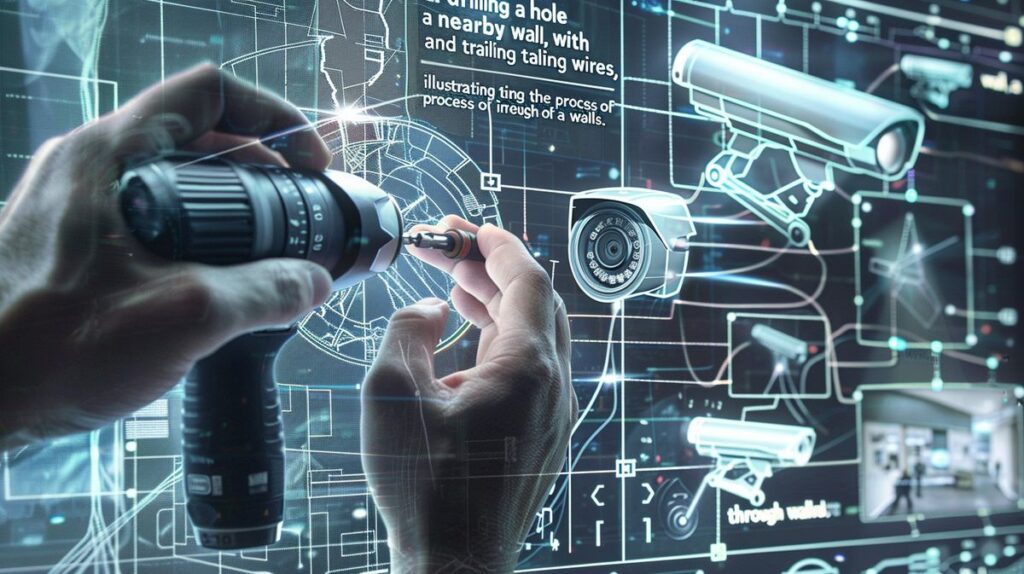
Running security camera wires through walls can seem daunting, but the right tools make all the difference. Fish tape, for example, is a game-changer. Just securely attach the cables to the fish tape and pull them through the wall. If fish tape falls short, don’t panic. Other wire fishing tools like fiberglass rods, metal chains, or sturdy strings can save the day. Move slowly and pull the wires evenly. This careful approach cuts down the risk of damaging the cables or getting them stuck.
Protecting Cables with Covers and Conduits
Indoor Cable Protection
Inside your home, protecting and concealing cables isn’t just about looks—it’s about safety too. Use wire guards or plastic tubes to cover the camera cables. Paint the wires the same color as your walls or run them behind baseboards for a seamless look. This not only protects the cables but also makes the installation look sharp and professional.
Outdoor Cable Protection
Running security camera wires outside brings extra challenges. You need robust cable guards or tough conduits designed for outdoor use. These covers protect the cables from weather and damage, ensuring your security system remains reliable.
Using PVC Conduit for Buried Cables
When running cables over long distances outdoors, burying them in PVC conduit is a solid option. Dig a trench about 18 inches deep to lay the conduit. This depth protects the cables from most surface activities. Drill drip holes in the conduit to let accumulated water escape, preventing water damage.
Making Drip Loops to Prevent Water Damage
Drip loops are a simple yet effective way to prevent water damage. By creating a loop before the cable enters your house or connects to an outlet, water will drip off at the lowest point. This small step can significantly boost the longevity of your security camera setup.
How to Run Security Camera Wires Through Walls
Running security camera wires through walls might seem daunting, but it’s all about breaking the task down into manageable steps and following some practical tips. Let’s dive into the nitty-gritty details to ensure your home security setup is both functional and aesthetically pleasing.
Testing Camera Connections
- Before securing anything permanently, make sure to test each camera connection. Plug in the cameras and monitor the live feed. Is everything displaying correctly? For more details about how to optimize your camera settings, check out our comparison on Ring Motion Detection vs Motion Alerts. Think of this step as a dress rehearsal for your security setup.
- Next, position the cameras and check their angles and coverage. Adjust as needed to ensure all critical areas are visible. It’s like positioning chess pieces strategically on a board for maximum effect.

Labeling Cable Ends for Easy Identification
- Labeling each end of the cables before securing everything can save you a lot of headaches. Imagine trying to figure out a spaghetti bowl of wires later on—proper labeling now is the chef’s kiss to your setup process.
Maintaining Aesthetics: Concealing Wires
- A neat appearance is important. Run the wires behind baseboards or use cable covers. Want an even more seamless look? Paint the wires to match the walls. Consider this the final touch-up before a gallery exhibition.
- Ensure the wires are properly secured and not hanging loosely. This isn’t just about looks; loose wires could be a tripping hazard and make your setup look unprofessional.
Creating Work Holes for Accessibility
- Creating small work holes during installation provides better visual and physical access, making wire fishing much easier. Think of these holes as windows into the process, giving you control over adjustments.
- Once you’re satisfied with the setup, patch up and paint the holes. It’s like putting the finishing touches on a remodel—it ensures everything looks pristine and professional.
Post-Installation Tips
Now that your security cameras are installed, let’s talk about some crucial steps to ensure the job is truly complete. Paying attention to these details helps maintain both the functionality and appearance of your home.
Sealing Holes and Patching Walls
After running security camera wires through walls, it’s vital to seal any drilled holes properly. Use materials like silicone or caulk to prevent water or pests from entering your home. Why risk it?
- Inspect the surrounding walls for incidental damage during the installation.
- Consider installing a light bulb security camera for added protection and convenience.
Patch up these areas with a wall repair kit and paint over them to match your existing wall color. This step keeps your interiors looking flawless.
Final Adjustments and Cleanup
With wires securely in place, it’s time to tidy up. Cleaning the workspace and organizing any leftover materials might seem minor, but it makes a world of difference.
- Double-check each camera’s positioning and angles to capture the intended surveillance areas. Make adjustments to ensure there’s nothing obstructing the view and all angles provide optimal coverage. Think of it as the final touches on a masterpiece.
Regular Maintenance Checks
Establishing a routine for regular maintenance checks on your security system ensures everything remains in top condition.
- Inspect the wires regularly for any signs of looseness, fraying, or wear and tear. Addressing these issues promptly keeps your security setup running smoothly and efficiently.
Legal Considerations
Staying informed about local regulations regarding surveillance is crucial.
- Before and after installing your security system, familiarize yourself with these regulations to avoid legal issues and respect privacy laws.
- Adhere to privacy laws, especially if your cameras capture footage in public spaces or shared community areas. This respect for privacy helps maintain good relations with neighbors and passersby.
Conclusion
- Running security camera wires through walls involves several key steps, starting from planning your installation layout and ensuring safety by turning off the power. Proper routing and drilling techniques are crucial for a smooth installation process.
- Effective wire fishing, protection using covers and conduits, and ensuring the connections work as desired are essential for a functional and aesthetically pleasing setup. Regular maintenance and understanding legal requirements are equally important for a long-lasting surveillance system.
- Planning, safety, and thoroughness are paramount when learning how to run security camera wires through walls. Proper preparation minimizes potential hazards and ensures a professional, durable installation that meets both functional and legal standards.
How to Run Security Camera Wires Through Walls
- Planning: Running security camera wires through walls involves several key steps. Start by planning your installation layout. Know where your cameras will go and where the wires will run. This isn’t just drawing lines on paper. Think about how the wires will travel and the shortest, safest routes to take. Turn off the power. Safety should always come first.
-
Routing and Drilling: The next step is proper routing and drilling techniques. Make sure you’re drilling in the right places to avoid hitting any electrical lines or pipes. Use a stud finder. It’s like having X-ray vision for your walls. Drilling isn’t about brute force; it’s about precision and care. - Wire Fishing: Effective wire fishing is crucial. Use fish tape to guide your wires through the drilled holes. Imagine you’re threading a needle, but through your walls. It requires patience and sometimes a bit of creativity. Protect your wires with covers and conduits to prevent any wear and tear.
- Connections and Protection: Ensuring all connections work as desired is essential. This isn’t just plugging in a toaster; it’s about making sure everything is tightly connected. Check, double check, and triple check. Proper protection using covers and conduits is important for both safety and aesthetics. No one likes looking at dangling wires.
- Legal Requirements: Regular maintenance and understanding your local legal requirements are crucial for the long-term success of your surveillance system. Think of it like changing the oil in your car. You need to stay on top of it to keep everything running smoothly.
- Overall Preparation: Good planning, strong emphasis on safety, and thorough execution are paramount when learning how to run security camera wires through walls. Proper preparation minimizes potential hazards and ensures a professional, durable installation. It’s like building a house; the foundation must be solid to stand the test of time.
FAQ: Wie man Überwachungskamerakabel durch Wände führt
Welche Werkzeuge benötige ich, um Überwachungskamerakabel durch Wände zu führen?
- Bereits als Polizist habe ich gelernt: Zeit, die richtige Vorbereitung. Du brauchst eine Bohrmaschine, Stud Finder, Fischband, Maßband, Kabelkanäle, Kabelschutzrohre, Silikon-Dichtmasse und Beschriftungsmaterialien. Diese Werkzeuge sind essenziell, um Überwachungskamerakabel sauber und sicher durch Wände zu führen.
Wie vermeide ich es, die Elektroinstallation meines Hauses zu beschädigen?
- Hier ist der Trick: Verwende einen Stud Finder und bohre in der Mitte der Holzständer. Plane Deine Routen fern von bekannten Kabelwegen und studiere, wenn möglich, die Baupläne Deines Hauses. Ein systematischer Ansatz schützt Dich und Deine Familie vor ungewollten Überraschungen.
Was ist die beste Methode, um Kamerakabel zu verstecken?
- Für eine ansprechende Optik: Verwende Kabelkanäle, führe die Kabel hinter Fußleisten, passe die Farbe an die Wände an oder benutze Plastikrohre. Das hält nicht nur alles ordentlich, es sorgt auch dafür, dass ungebetene Gäste die Installation schwerer entdecken.
Kann ich Überwachungskamerakabel unterirdisch verlegen?
- Absolut. Lege die Kabel mindestens 45 Zentimeter tief in PVC-Kabelrohren. Bohr Dränagelöcher in die Rohre, um Wasseransammlungen zu vermeiden. Diese Methode schützt vor Witterungseinflüssen und schafft dauerhafte Sicherheit.
Wann sollte ich professionelle Hilfe in Anspruch nehmen, um Überwachungskamerakabel zu verlegen?
- Bei komplexen Installationen, unbekannten Elektroinstallationen, strukturellen Herausforderungen, umfangreiche Bohrarbeiten oder langen Kabelwegen, empfehle ich professionelle Hilfe. Sicherheit und Effizienz stehen dabei an erster Stelle.
I’m James Albright, a home security expert with over 15 years of experience, and I’m passionate about helping families protect what matters most. After serving as a police officer, I transitioned to security consulting to share my hands-on knowledge and practical tips. My mission is to make home security simple and reliable by offering clear, no-nonsense advice and easy-to-follow guides. When I’m not reviewing the latest security tech or writing, I’m out in the community leading neighborhood watch programs and, most importantly, keeping my own family safe.


Post Comment