Comprehensive Guide: How to Install SimpliSafe for Home Security
Ever wondered how to install SimpliSafe effortlessly to reinforce your home security? Let me, James Albright, take you through an easy journey. This article offers you practical advice for every installation step, ensuring no room in your house goes unprotected. Be it the crafty setup via the SimpliSafe App or the strategic placement of devices, I’ve got you covered.
As a seasoned home security expert, I appreciate the need for ease and efficiency in securing your space. This guide addresses precisely that. You’ll master installing SimpliSafe, be it your first DIY project or your hundredth.
By the end of this article, you’ll have transformed your home into a fortress, but remember, your home is your castle, and if there are gaping holes in your home security, that castle is going to be a pretty insecure place. To ensure you’re making the best choices, consider checking out this guide on the dos and don’ts of home security here. So, are you ready to roll up your sleeves and dive in?
Step 1: Preparing for Installation
Get ready to install your SimpliSafe system with these essential first steps. Proper preparation ensures a smooth and efficient setup, making your home secure in no time.
Downloading the SimpliSafe App
- Begin by downloading the SimpliSafe app from the Apple App Store or Google Play Store.
- Make sure your smartphone is charged and connected to Wi-Fi to avoid interruptions during the download.
Reviewing the SimpliSafe Setup Guide
- Spend a few minutes familiarizing yourself with the SimpliSafe setup guide. This preparation will make the installation process smoother.
- Track all essential steps and tools you’ll need to stay organized and efficient.
Planning Device Locations
Base Station
- Select a central location for the base station that is near a power outlet, ensuring optimal performance and connectivity.
- Avoid placing it near walls and obstructions to allow better signal distribution throughout your home.
Keypad
- Position the keypad near your most frequently used entrance for maximum convenience.
- Ensure that it’s between 10 to 100 feet from the base station for optimal connectivity.
Entry Sensors
- Identify the windows and doors you want to monitor for added security.
- Focus on high-traffic areas and potential entry points to maximize sensor effectiveness.
Setting the Environment
- Create a calm and organized space to make the installation process stress-free.
- Ensure the area where you’ll install the components is clean and distraction-free.
Checking Your Package Contents
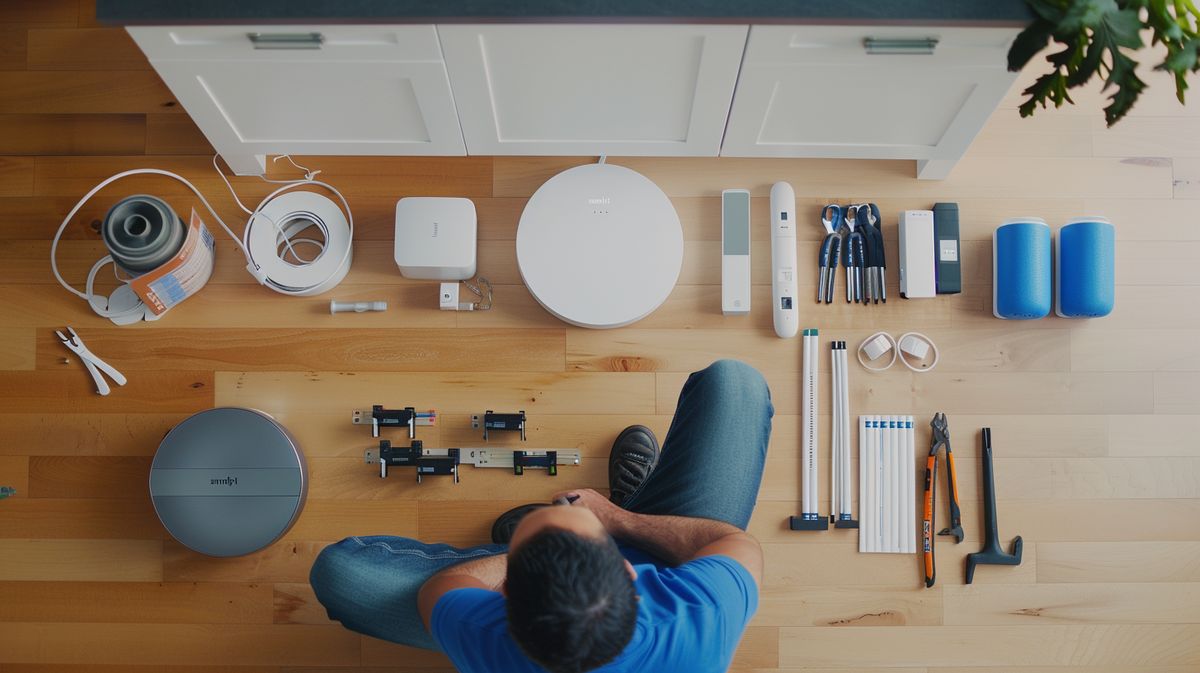
- Verify that all the necessary components are included in your package before you begin. Missing parts can disrupt the installation process.
- Lay out all the components to keep everything organized and accessible during installation.
Step 2: Setting Up the Base Station
Your SimpliSafe security system hinges on a well-placed base station.
Let’s cover how to get it set up effectively.
Unpacking and Placing the Base Station
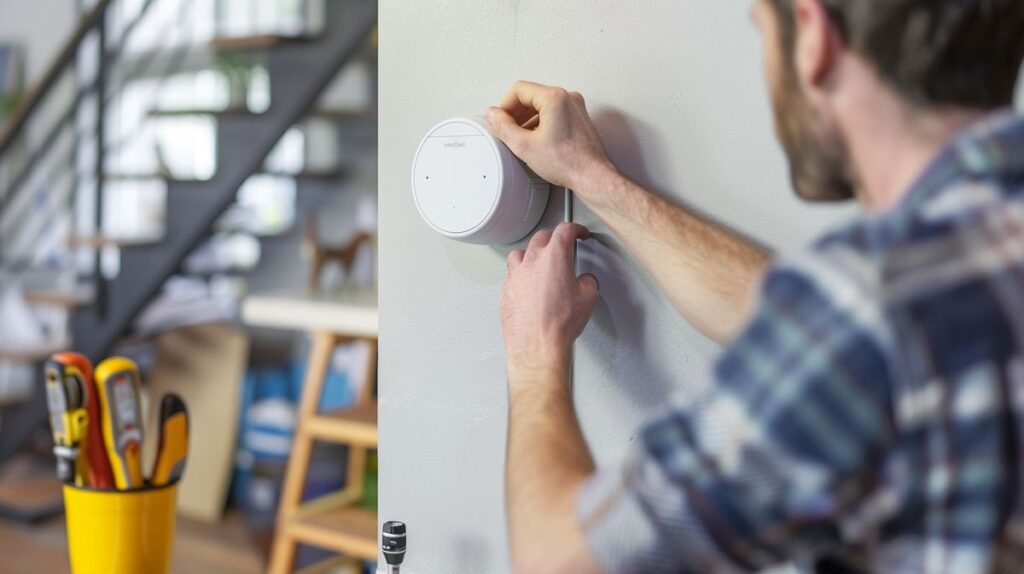
Begin by carefully unpacking your base station. Think of it as the heart of your security system. Attach the power cord carefully—like threading a needle—ensuring it’s snug and secure. When deciding on the perfect spot, aim for a central location in your home. This promotes optimal signal distribution, ensuring smooth communication between all your SimpliSafe devices. Position it near a power outlet without obstructions such as walls or bulky furniture, boosting the system’s efficiency. Remember, a clutter-free environment is your friend here.
Connecting to Power and Wi-Fi
Ready for the next step? Plug your base station into a dedicated power outlet. Avoid sharing outlets with heavy appliances to prevent power disruptions. With the base station powered up, open the SimpliSafe app on your smartphone and head to “Set Up New System.” This handy guide walks you through connecting your base station to your home’s Wi-Fi, ensuring all devices communicate seamlessly. Think of it as assembling a team where everyone is on the same page.
Naming Your Property and Setting Up the App
Pulling the Battery Tab
Now, activate your base station by pulling out the battery tab. Think of this as starting the engine of a car. Once done, confirm the activation in the SimpliSafe app, verifying that your base station is up and running.
Creating a Master PIN
For added security, create a master PIN and a verification code word in the app. This master PIN acts as your main password for accessing and controlling the system. It’s your digital house key, so write it down or store it securely to avoid future access issues.
Updating Firmware
- Check for firmware updates through the app.
- Ensure your base station is connected to Wi-Fi.
- Makes sure your system is running the latest version for optimal performance and security.
Choosing a Monitoring Plan
Through the app, you can select a suitable monitoring plan. Take advantage of SimpliSafe’s 30-day free trial of professional monitoring, giving you time to evaluate your options. Enter your personal information accurately to set up the monitoring service. Jot down the monitoring center numbers for quick access in case of emergencies or service inquiries—like having an emergency contact number saved on your phone.
Step 3: Installing Sensors and Devices
Here’s your guide to installing the sensors and other devices for your SimpliSafe system.
Let’s make sure every part of your home is covered and secure.
Entry Sensors
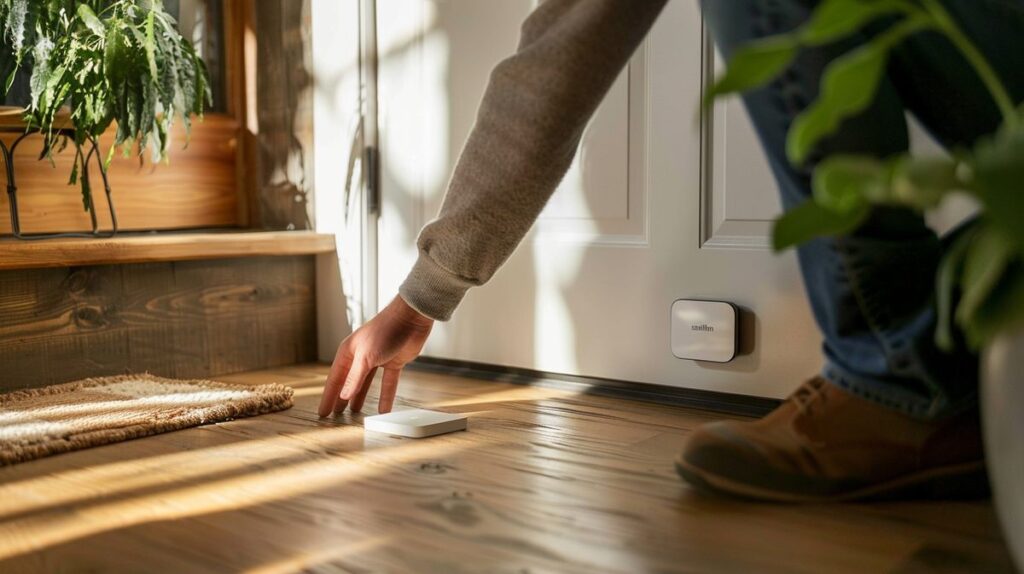
- Clean the Surface: Thoroughly clean the area where you plan to place the entry sensor. Think of it like sticking a stamp—cleaner surface, better stick!
- Remove the Battery Tab: Pull out the battery tab to activate the sensor. This is like waking up a light sleeper; make sure you do it right!
- Press the Setup Button: Once the battery tab is out, press the setup button to link the sensor to the base station. Es ist wie das Einfügen einer SIM-Karte in ein Handy.
- Attachment: Use the provided adhesive strips or screws to attach the sensor. Make sure it’s firm and secure—think of it as sticking a magnet to a fridge, no gaps should be there when the door closes.
Motion Sensors
- Select a High Corner: Place the motion sensor in a high corner of the room. Imagine it’s a lifeguard—it gets a better view from up there.
- Activate the Sensor: Remove the battery tab to power it on. This is non-negotiable, just like putting fuel in a car.
- Setup Button: Press the setup button to pair it with the base station. Simple as clicking a remote to turn on the TV.
- Mounting: Attach the sensor with the adhesive strips. Think of it as putting up a picture frame—secure and level to avoid any hassle later.
Keypad
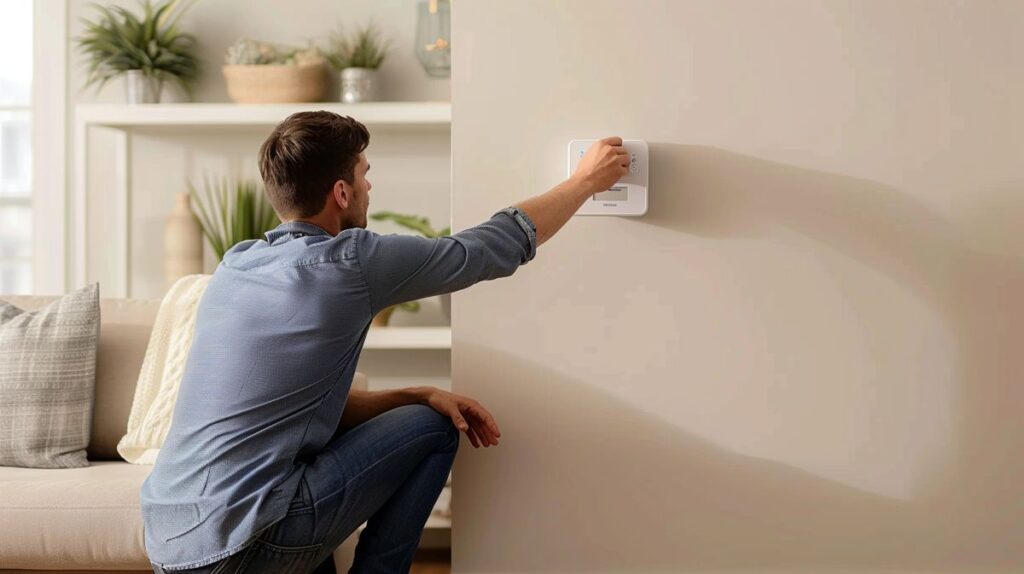
- Planned Location: Install the keypad near the most frequently used door. It’s like putting the fire extinguisher near the kitchen—practical and easy to access.
- Battery Tab Removal: Remove the battery tab to activate it. No power means no functionality, just like any other electronic device.
- Setup Procedure: Press the setup button and follow the app instructions. It’s like following a GPS—a few steps and you’re there.
- Mounting: Use adhesive strips to mount the keypad. Place it at a comfortable height for ease of use, just like hanging a coat hook.
Indoor Camera
- Fully Charge the Camera: Make sure the camera is fully charged before you start. Think of it as charging your phone before a long trip.
- Follow App Instructions: Use the SimpliSafe app to press the setup button and sync the camera with your system. Easy as pairing Bluetooth headphones.
- Test Live Streaming: Check the live streaming feature in the app to ensure the camera is working correctly. It’s like test-driving a car—you want to make sure everything’s perfect before you rely on it.
Smoke and CO Detectors
- Remove Mounting Bracket: Twist off the mounting bracket from the detector. It’s like unscrewing a jar lid—simple and necessary.
- Mark Mounting Holes: Use the bracket to mark where you will drill the holes. Think of it as outlining the area before painting a wall.
- Drill Holes: Drill the marked spots and fix the bracket securely. Just like assembling a piece of furniture, be precise.
- Finalize Installation: Attach the detector onto the bracket by twisting it until it clicks into place. It’s like locking a door—secure and reliable.
Step 4: Completing the Installation
Following App Instructions
After installing all the hardware components, the SimpliSafe app will guide you through the final installation steps.
Be sure to follow each instruction diligently for a seamless setup.
- Step-by-Step Guidance: The app offers clear, step-by-step instructions to complete the installation process of all devices.
- Completion of Steps: Fully complete each step before moving on to avoid any installation issues.
Testing Each Device
Testing your devices is crucial to ensure they are properly installed and communicating with the base station. Confirm that each sensor and module is functioning as expected.
- Initial Testing: Follow the in-app instructions to perform initial tests on each device.
- Verification: Verify the operational status of each component by following additional test prompts within the app.
Selecting “Done Installing” in the App
Once all devices are tested, you’ll complete the installation process by selecting “Done Installing” in the SimpliSafe app. This finalizes the setup and ensures all devices are connected.
- Final Confirmation: Selecting “Done Installing” will initiate a final system check.
- Device List: Verify that all devices are listed and registered correctly in the app.
Entering Practice Mode
Practice mode helps you get familiar with the SimpliSafe system without triggering real-time alerts. This mode is perfect for understanding the system’s functionality and making sure you’re comfortable with the setup.
- Activation: Activate practice mode via the app to test all features in a safe, non-alerting environment.
- System Exploration: Use this period to explore different functionalities, like arming/disarming and sensor activation responses.
Customizing Settings and Preferences
Once the installation and testing phase is complete, customize your SimpliSafe system to better suit your household needs.
- Settings Adjustment: Use the app to modify settings such as motion detection sensitivity and entry delays.
- Personalization: Tailor the system preferences according to your security requirements and daily routines.
Bonus Tips for Optimal Setup
Getting your SimpliSafe system up and running is just the start. Setting it up for optimal performance ensures your home is as safe as possible. Here are some practical tips to make the most out of your security system.
Motion Sensor Tips
- Install motion sensors in high corners to cover a wider area. This placement ensures that the sensor can monitor the entire room effectively, reducing blind spots.
- Adjust settings for pet sensitivity to avoid false alarms. Most systems allow you to calibrate the motion sensor to ignore movement from pets under a certain weight, preventing unnecessary alerts. Think about it like tuning in your favorite radio station just right.
Glassbreak Sensor Tips
- Place glassbreak sensors within 20 feet of windows, but not directly on the glass. This distance ensures they can effectively pick up the sound frequencies associated with breaking glass without being affected by everyday noise. Imagine trying to hear a whisper from across the room. Distance matters.
- Avoid installing in the kitchen to prevent false alarms. Kitchens tend to have high ambient noise from dishware and appliances, which may trigger the sensor erroneously. You wouldn’t want your sensor to mistake a dropped plate for a break-in.
Environmental Sensor Tips
- Place temperature sensors near pipes to detect freezing. This location helps provide early warnings of potential freezing, preventing pipe bursts and water damage. Think of it as a watchdog for your plumbing.
- Place water sensors near potential leaks and CO detectors near bedrooms. This strategic placement ensures early detection of leaks and dangerous carbon monoxide levels while you sleep. It’s like having an extra set of eyes where it matters most.
- Avoid placing smoke detectors near heat sources like ovens and stoves. Heat from cooking appliances can cause false alarms, so positioning them away from these areas is crucial for reliable performance. You wouldn’t want the smoke from your dinner setting off the alarm needlessly.
Camera Installation Tips
- Follow on-screen instructions in the app for optimal placement. The app provides step-by-step guidance to ensure your cameras are positioned for maximum coverage and effectiveness. It’s like having a pro installer walk you through the process.
- Ensure outdoor cameras are installed at the correct height and angle for better coverage. Mounting cameras at an optimal height, typically around 9 feet high, provides a broad field of view while keeping them out of easy reach. Picture it as your camera’s sweet spot.
Common Issues and FAQs
The section below dives into some typical concerns and frequently asked questions regarding the installation and use of SimpliSafe systems.
Ease of Installation
SimpliSafe is crafted for a straightforward DIY setup, equipped with user-friendly instructions available through the keypad and setup guide. How to Install SimpliSafe: Simply follow step-by-step guidelines in the app and setup guide for a seamless experience. The process is intuitive, catering to users of all tech levels, ensuring minimal complications during installation. Imagine putting together a piece of flat-pack furniture—it’s just as easy!
Using Adhesive Tape vs. Screws
Most SimpliSafe devices, like entry sensors and motion detectors, can be easily mounted using the provided adhesive tape. This offers flexibility in placement without damaging walls. However, How to Install SimpliSafe suggests using screws for CO and smoke detectors to ensure they are firmly and securely installed, adhering to safety standards. Think of it as hanging up a picture versus mounting a shelf—each has its best method.
Deactivating Devices via Keypad
Managing your devices efficiently is a breeze. You can deactivate any component through the keypad menu. This feature is essential for performing maintenance or resolving issues without disrupting the entire security system. How to Install SimpliSafe provides clear instructions on navigating the keypad menu, making device management straightforward and efficient. Ever had to reset a Wi-Fi router? It’s just as simple.
Professional Installation Options
While SimpliSafe promotes DIY installation, professional installation services are available starting at $99. How to Install SimpliSafe without the hassle: For those who prefer a hands-off approach, opting for professional services can save time and ensure all devices are correctly installed and configured by experts. It’s like having a tailor fit a suit—it ensures everything is perfect.
Alarm Permit Requirements
An alarm permit may be required, depending on local regulations. Always check with local authorities to determine if you need a permit for your SimpliSafe system. How to Install SimpliSafe responsibly involves understanding and complying with local laws to avoid potential fines or issues with emergency services. For more information on setting up other security systems, you might also be interested in our guide on How to Set Up Ring Camera. Think of it as renewing your driver’s license—it’s about staying within the law for everyone’s safety.
Conclusion
Learning how to install SimpliSafe is straightforward and involves several key steps to ensure optimal performance and security for your home. Think of it as setting up a new phone; it may seem complex at first, but breaking it down makes it manageable. Let’s get started!
Plan Ahead: This is crucial for a smooth installation. Start by downloading the SimpliSafe app, which acts like your personal installation assistant. Make sure your smartphone is charged and connected to Wi-Fi to avoid interruptions.
Review the Setup Guide: Take a few minutes to go through the SimpliSafe setup guide thoroughly. Knowing the required tools and following the instructions can save you from potential headaches later. Imagine knowing exactly where everything goes before you start or which tools you’ll need—that’s what preparation can do.
Plan Device Locations: Think of your home as a fortress. If you’re facing issues with your garage door, you might want to check out our guide on how to fix the orange light on your garage door sensor. The base station should be positioned centrally, close to a power outlet, and free from obstructions. Place the keypad near the most commonly used door, within 10 to 100 feet of the base station, for strong connectivity.
Strategically locate entry sensors at crucial points like windows and doors.
Prepare Your Environment: Ensure the installation area is clean and free from distractions. Check your package contents to confirm all necessary components are included. For more information on related topics, you might want to read about how to set an alarm on Google Home without using voice.
Laying everything out before starting helps ensure you won’t encounter any missing pieces during the process.
Unpack and Setup: Unpack the base station and plug it into a dedicated power outlet. Utilize the SimpliSafe app to start the setup by following the prompts. This includes connecting to Wi-Fi, pulling the battery tab to activate the base station, and creating a master PIN. Updating the firmware via the app ensures everything runs smoothly. Also, consider choosing a monitoring plan, with options like a 30-day free trial for professional monitoring.
Install Sensors and Devices: With the base station set up, it’s time to install the sensors and devices around your home. Each sensor requires specific instructions, which the app will guide you through. Always test each installed device to ensure effective communication with the base station.
Once installation and testing are complete, confirm the setup through the app and enter practice mode. This feature lets you get familiar with the system without triggering alarms. Finally, customize your settings and preferences to suit your household needs. Adjust motion detection sensitivity, entry delays, and other functionalities for optimal satisfaction.
If you are a tenant, it’s also crucial to be aware of the apartment security camera laws in your area to ensure you comply with local regulations.
Following these structured steps ensures that you will know how to install SimpliSafe efficiently, making your home safer and more secure. Consistent testing and adherence to safety guidelines will help maintain the system’s reliability over time. Using the instructions and tools provided, you’ll transform your living space into a well-protected home in no time.
FAQ: How to Install SimpliSafe
Is SimpliSafe easy to install on my own?
– Absolutely! SimpliSafe is designed with simplicity in mind. You’ll find the DIY installation process a breeze. The app and setup guide will walk you through each step like an old friend guiding you along. Think of it as assembling a puzzle – straightforward and satisfying.
Where should I place the base station for optimal performance?
– Placing the base station correctly is crucial. Ideally, set it up centrally in your home, near a power outlet, and away from any obstructions. Imagine it as the heart of your system, ensuring the signal flows smoothly to every corner of your living space.
How do I connect SimpliSafe to my home Wi-Fi network?
– Here’s where the SimpliSafe app shines. Scan the QR code or type in the serial number, then follow the on-screen instructions. It’s as easy as connecting your phone to a new Wi-Fi network – you’ll be done in no time.
What should I do if a sensor is not responding during installation?
– Don’t fret if a sensor acts up. First, make sure the battery tab is pulled out. If it still doesn’t respond, try pressing the setup button again. If issues persist, the in-app troubleshooting or SimpliSafe’s support website can guide you through like a seasoned hand helping a rookie.
Do I need an alarm permit for my SimpliSafe system?
– Alarm permit requirements can be a bit tricky. They vary by location, so it’s best to check with your local authorities. Think of it like checking local road rules before a trip; a little preparation goes a long way.
I’m James Albright, a home security expert with over 15 years of experience, and I’m passionate about helping families protect what matters most. After serving as a police officer, I transitioned to security consulting to share my hands-on knowledge and practical tips. My mission is to make home security simple and reliable by offering clear, no-nonsense advice and easy-to-follow guides. When I’m not reviewing the latest security tech or writing, I’m out in the community leading neighborhood watch programs and, most importantly, keeping my own family safe.



Post Comment